Ausvantage Online
Sidekick64 (C64 / C128 / C16/+4 / VIC-20)
Sidekick64 is a software-defined, Raspberry Pi powered cartridge/expansion that can emulate memory expansions, freezer cartridges, many cartridge formats, sound devices (multi-SID / SFX / MIDI), kernal replacements, function ROMs (C128), plus extras like audio playback and tools.
What it can emulate (big highlights)
- GeoRAM/NeoRAM compatible memory expansion
- Freezer cartridges: Action Replay 4–7, Final Cartridge 3(+), KCS Power Cartridge, Super Snapshot V5, Freeze Frame/Machine, Atomic/Nordic Power (experimental)
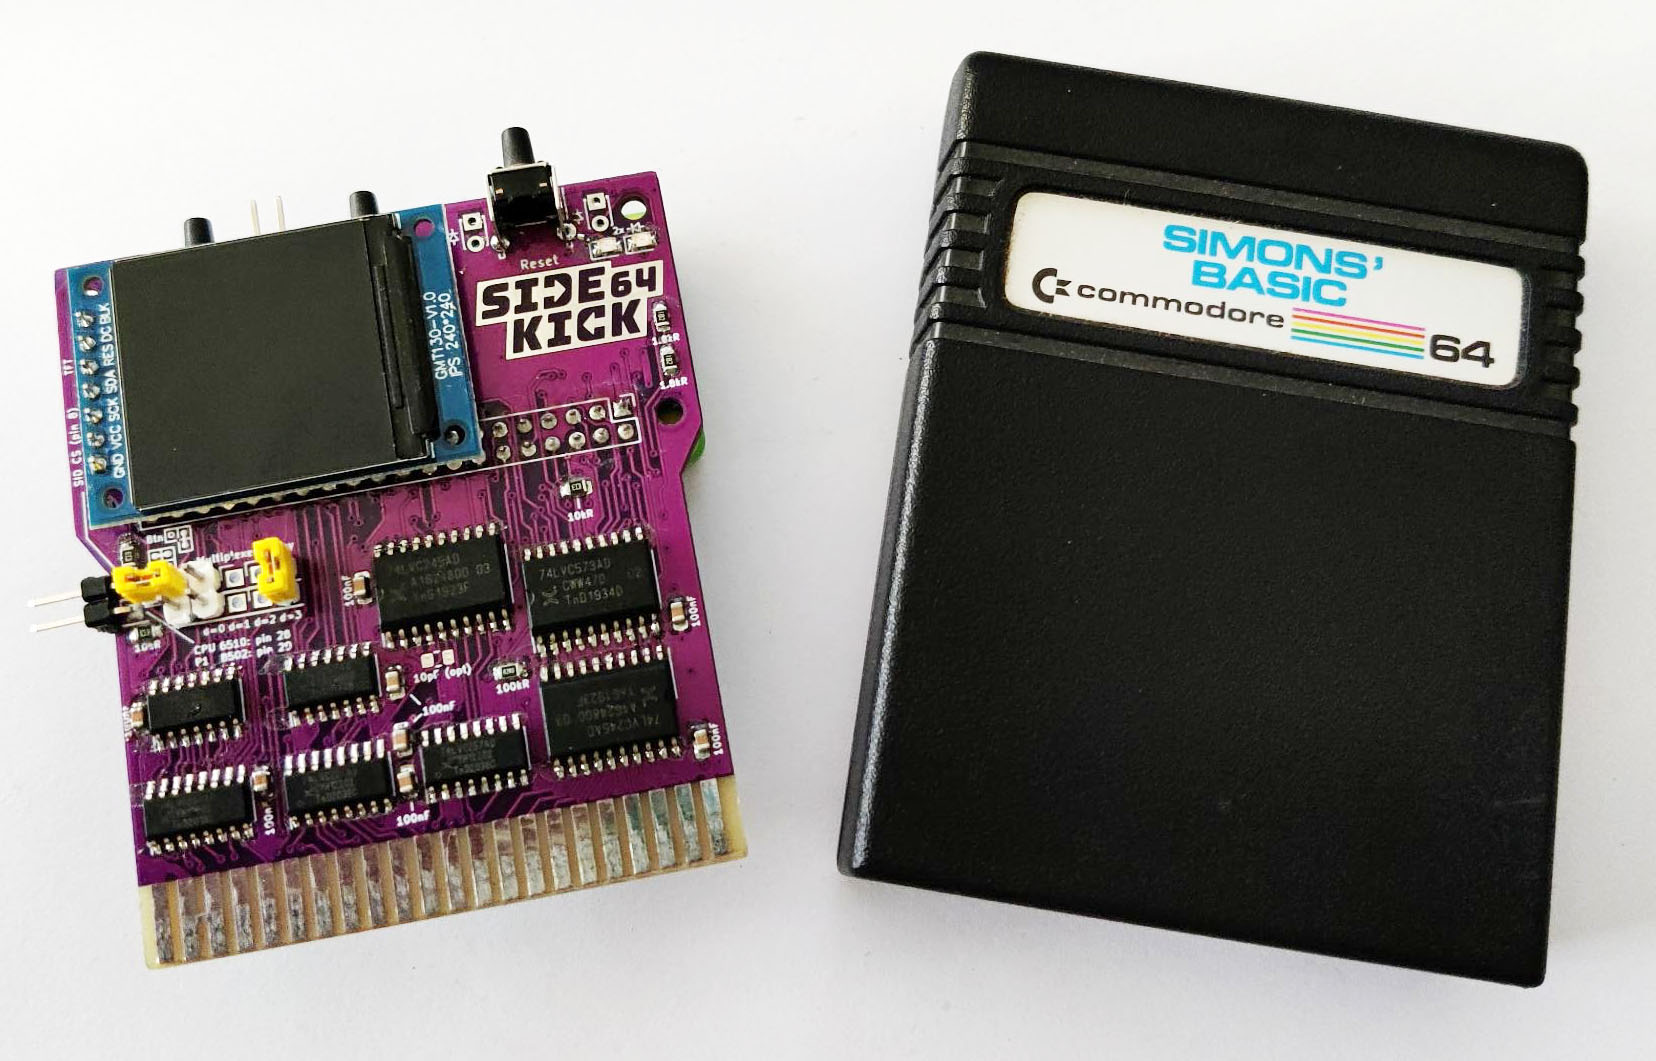
- Cartridge formats: EasyFlash (simplified EAPI), GMOD2 (EEPROM save), MagicDesk/Domark/HES AU, Ocean A/B (up to 512k), Dinamic, C64GS, Comal80, Simons’ BASIC, Prophet64, RGCD/Hucky carts, etc.
- C128: kernal replacement + Function ROMs, 2MHz reads supported in EasyFlash emu
- Sound: up to 8 SIDs, SFX Sound Expander, FM emulation, MIDI (Datel/Sequential style) with SoundFont synth
- Media/tools: handles PRG, D64, SID, MOD, YM, WAV; includes tools like Disk2EasyFlash and PSID64
Supported machines & Pi models
- Machines: C64, C128, C16/+4, VIC-20 (via adapters)
- Raspberry Pi: Pi 3A+, 3B+, and Zero 2 (Zero 2 is for C64/C128/VIC-20 use)
- Tested: PAL + NTSC C64, C128/C128D, C16/+4 (PAL/PAL-N/NTSC), VIC-20 (PAL/NTSC), Ultimate64, C64 Reloaded
Gallery (official / upstream images)

Tip: if you want these images hosted locally (faster + consistent), download them and put them in
/wiki/img/ then update the src paths.
Quick start (SD card)
1) Get the firmware
Grab the latest release from GitHub, write/copy it to a FAT microSD (depending on the release format), then boot the Pi on the Sidekick64 PCB.
2) Configure
Main config lives at SD:C64/sidekick64.cfg.
Set your display type (OLED or TFT), and choose how you want the menu to behave.
3) Add your content
- Copy
.CRT,.PRG,.D64, ROMs (.binraw) into the folders used by the menu. - Optional: populate
SD:/FAVORITESto auto-build a curated main menu (C64/C128). - You can customize splash screens and themes (see
SD:SPLASHand display docs in the repo).
Build hardware (PCBs, BOM, assembly)
PCB variants
- Large PCB fits Pi 3A+/3B+
- Small PCB tailored for Pi Zero 2
- Design intent: interchangeable (check revision notes upstream)
BOM / interactive BOM (iBOM)
Assembly order (simple)
- Solder SMD parts (top side only).
- Solder the 2×20 female header (Raspberry Pi socket).
- Solder pin headers + push buttons.
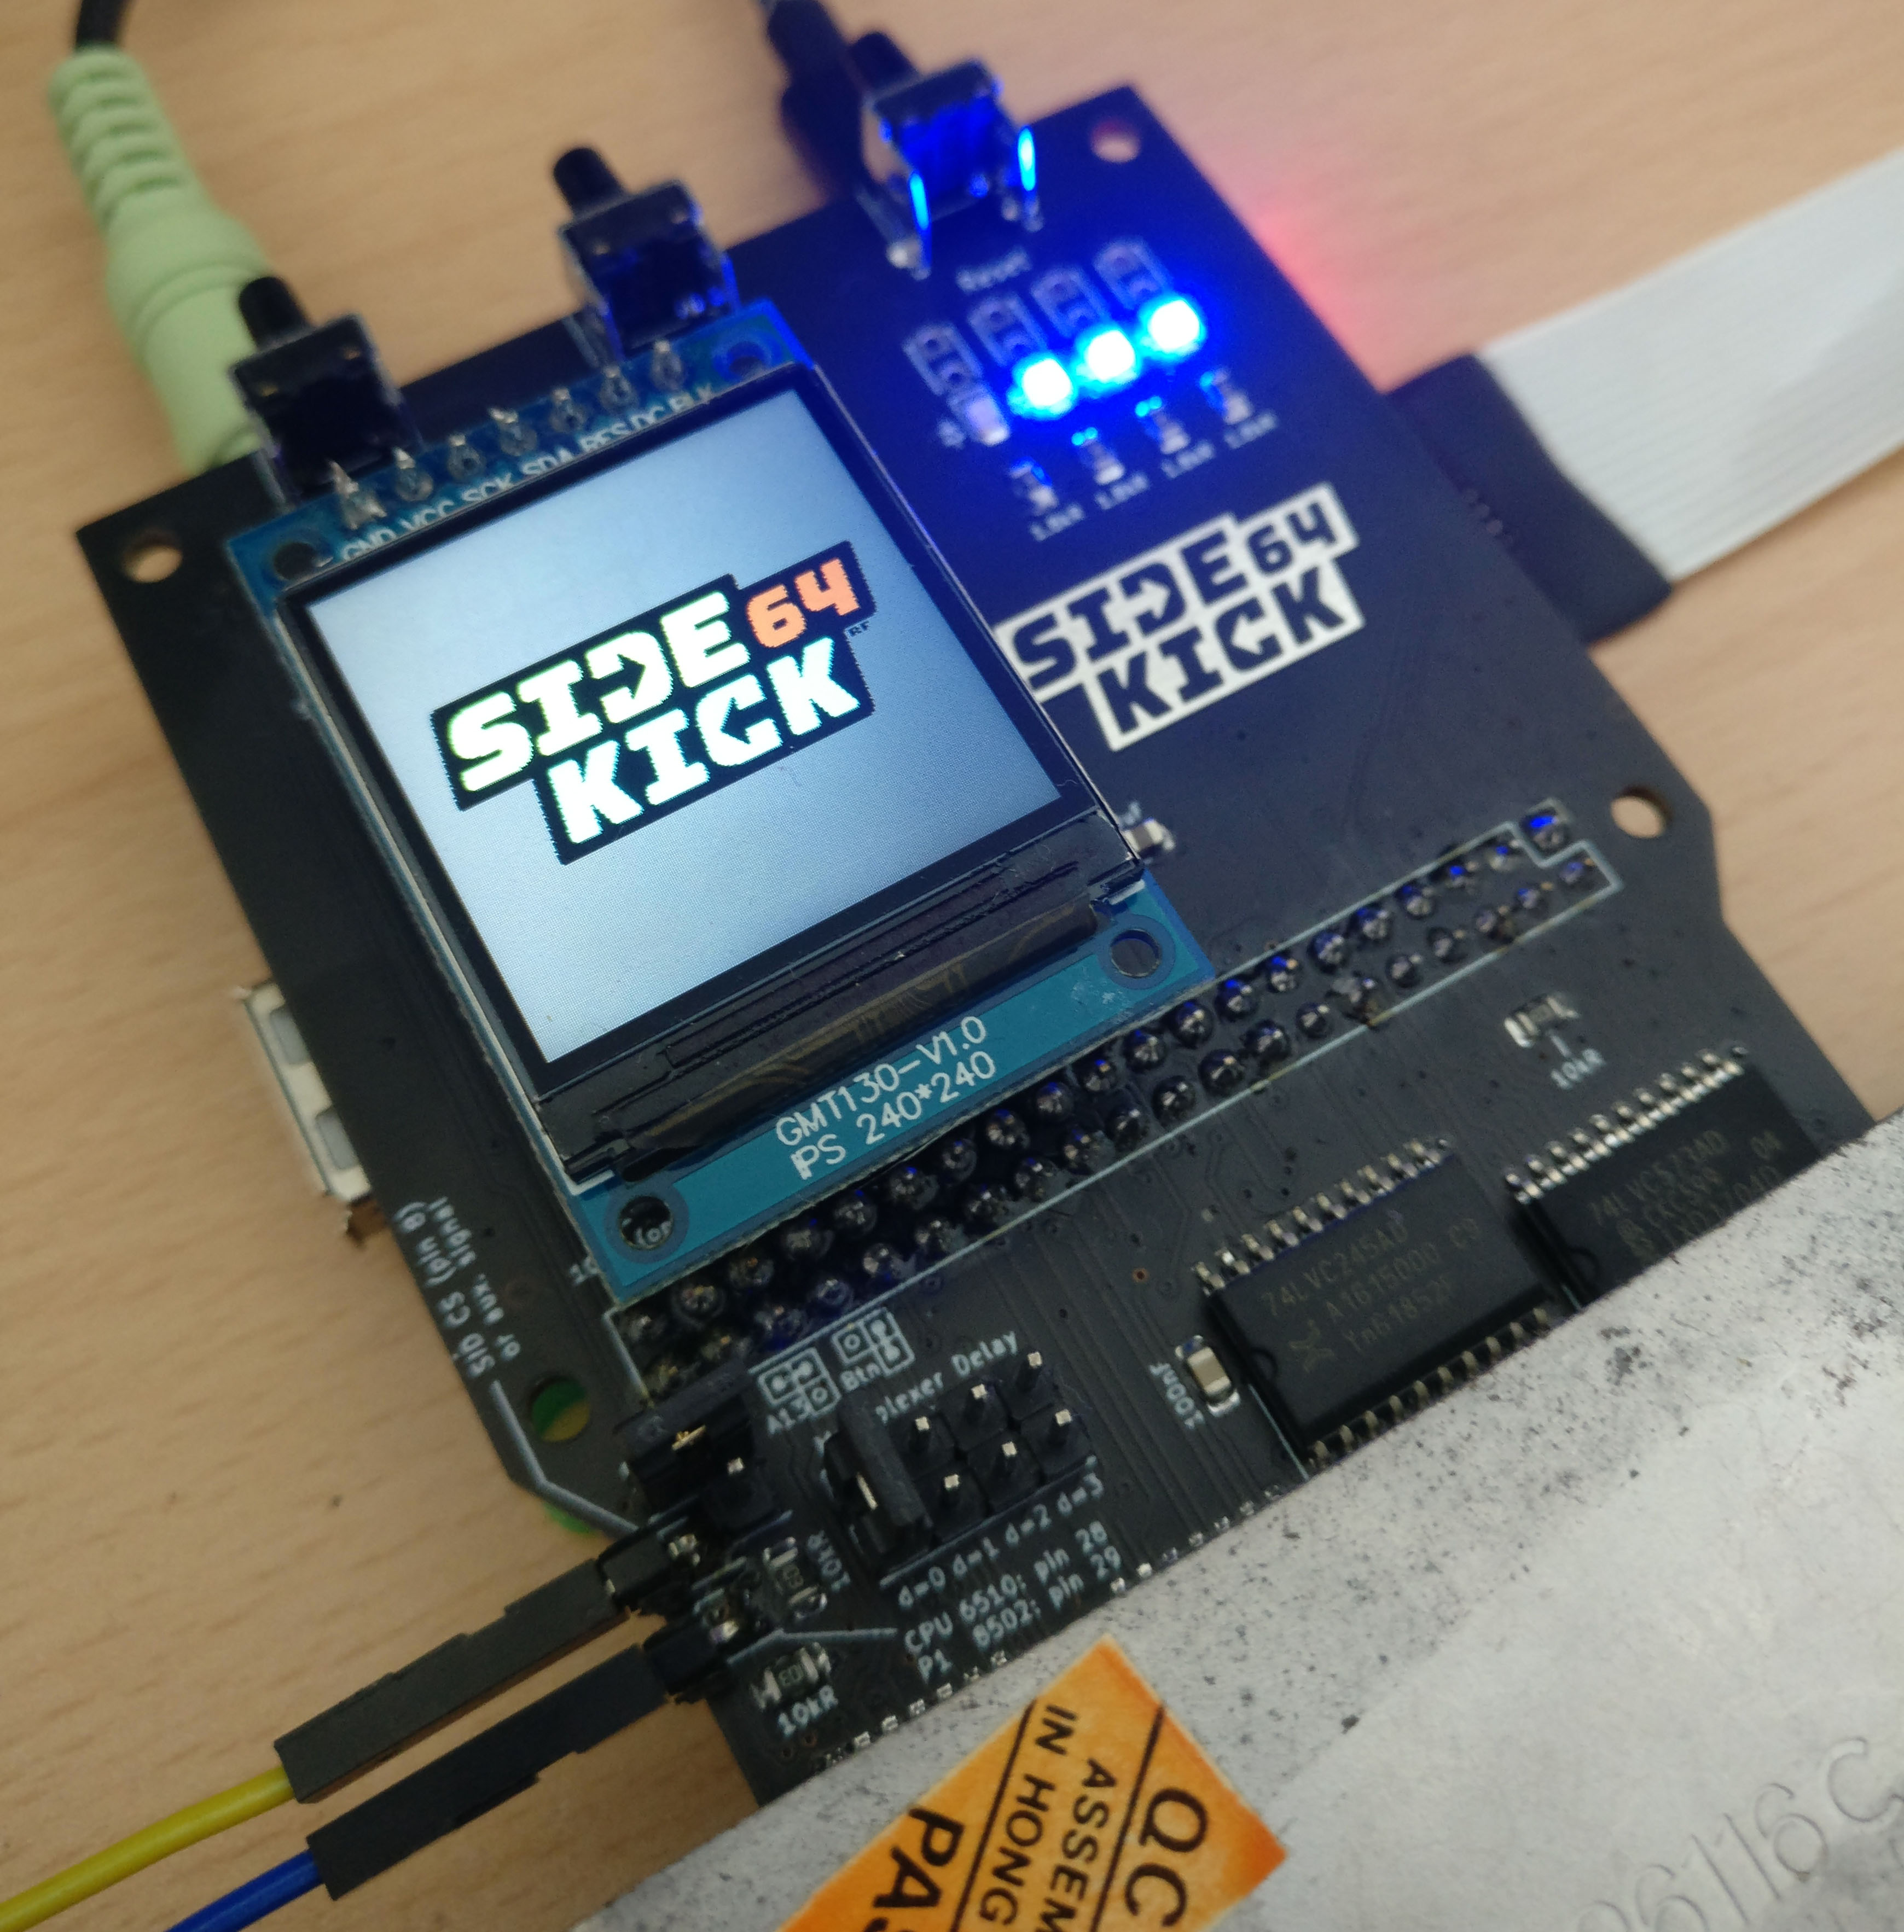
- Optional: attach SSD1306 OLED (4-pin) or ST7789 240×240 TFT (recommended).
d=0..3. Use d=0 for C64/C128.
Use d=3 for C16/+4 (Sidekick264 mode).
Extra wiring (only if you need SID CS / kernal replace)
For kernal replacement + SID emulation (C64/C128), upstream notes you may need wires from the Sidekick pins (“SID CS” / “CPU P1”) to CPU + SID socket (depends on machine).
Variants / modes
| Variant | Target | What you get | Notes |
|---|---|---|---|
| Sidekick64 | C64 / C128 | Menu, carts, freezers, memory, audio/SID/MIDI, tools, favorites | Most common configuration. |
| Sidekick128 | C128 | PRG128 + CRT128 folders, function ROM emu, VDC output modes | Can switch VIC/VDC output modes from menu (upstream feature). |
| Sidekick264 | C16 / Plus-4 | Menu + browser, PRG loading, cartridges (C1 low/high), sound options | Requires adapter + d=3 jumper. Pi 3A+/3B+ preferred; heavy OC for Zero 2. |
| Sidekick20 | VIC-20 | VIC emulation via HDMI (optional), memory expansion emu, basic disk emu | Requires adapter; VIC HDMI mode needs A15 wire from CPU to adapter “in 1”. |
Sidekick264 (C16 / Plus-4) — the quick explainer
Sidekick264 is Sidekick64 running in the C16/+4 world using a passive adapter. You get the familiar menu + browser, plus PRG loading and cartridge support for that platform.
- Enable it: in
config.txtactivate the include line forsidekick264_rpi3.txt(upstream naming). - Adapter: passive adapter between the machine port and Sidekick64.
- Jumper: set delay jumper to d=3 for C16/+4 use.
- Overclock: typically Pi 3A+/3B+ required; Zero 2 may need extreme OC and can be unstable.
Handy: PCBWay has shared adapter pages (if you want quick reference links): C16/+4 adapter • VIC-20 adapter
Powering & stability
Recommended: external PSU
Best practice is powering the Raspberry Pi externally, letting Sidekick boot to splash/menu, then turning on the Commodore.
Cartridge-port power (C64/C128 only)
Sidekick can be configured to draw from the expansion port via the “close to power…” jumper, but quality of the computer PSU matters. If anything is flaky, switch to a known-good external PSU first.
Building from source (for tinkerers)
Upstream builds are based on the Circle bare-metal environment (commonly referenced Circle 44.3 + gcc-arm setup).
Different kernels can be built via make -kernel=... (menu, cart, sid, etc.), then copied with Pi firmware to a FAT SD.
If you’re doing this: stick closely to the build settings included in the repo.