Ausvantage Online
RAD Expansion Unit (REU / GeoRAM)
A Raspberry Pi-powered cartridge/expansion for C64 and C128 that primarily emulates an REU (up to 16MB) and GeoRAM/NeoRAM (up to 4MB), with a built-in menu to browse and launch images and programs.
What it emulates
- REU up to 16MB (compatible with CBM 1700/1750/1764 REU + common clones)
- GeoRAM / NeoRAM memory expansion up to 4MB
- Menu launcher: browse/manage/launch memory images, NUVIEs, PRGs, and VICE snapshots (VSF)
Supported Raspberry Pi
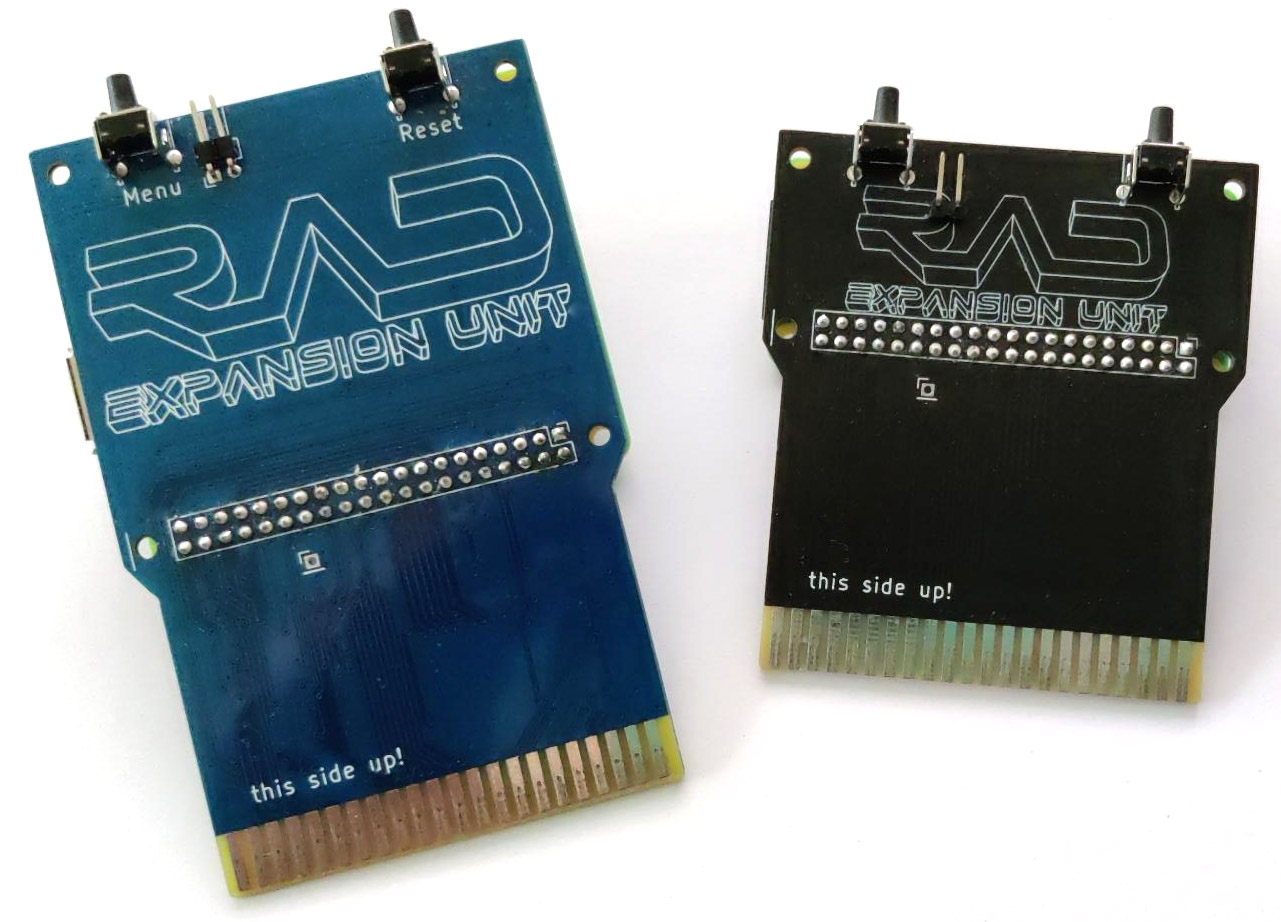
- Raspberry Pi 3A+, 3B+, Zero 2
- Two PCB form factors: “big” (3A+/3B+) and “small” (Zero 2), but the design is intended to be interchangeable (check your PCB revision)
Gallery (official images)
Quick start (SD card)
1) Get the firmware
Download the latest release and copy the release files onto a FAT32 microSD card. Keep your RAD content organized in the subfolders used by the menu.
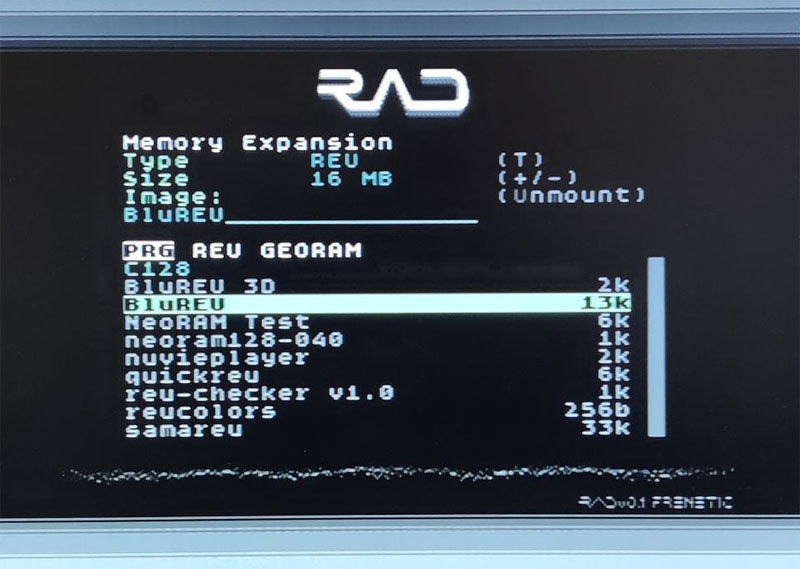
SD:RAD/rad.cfg. You can set the preferred startup mode
(menu, REU, or GeoRAM) and tweak timings if you see glitches.
2) Add your content
- Copy REU/GeoRAM images into the appropriate subdirectories (per upstream layout).
- Copy
.PRGfiles where you want them for browsing. - VICE snapshots (
.VSF) can be launched/restored (see limitations below).
3) Use the menu
Navigate with the keyboard in the menu. Press H for help on-device.
Menu music (optional)
Replace SD:RAD/music.wav with your own WAV. Upstream recommends
mono, 15.6kHz, 8-bit PCM, up to 8MB.
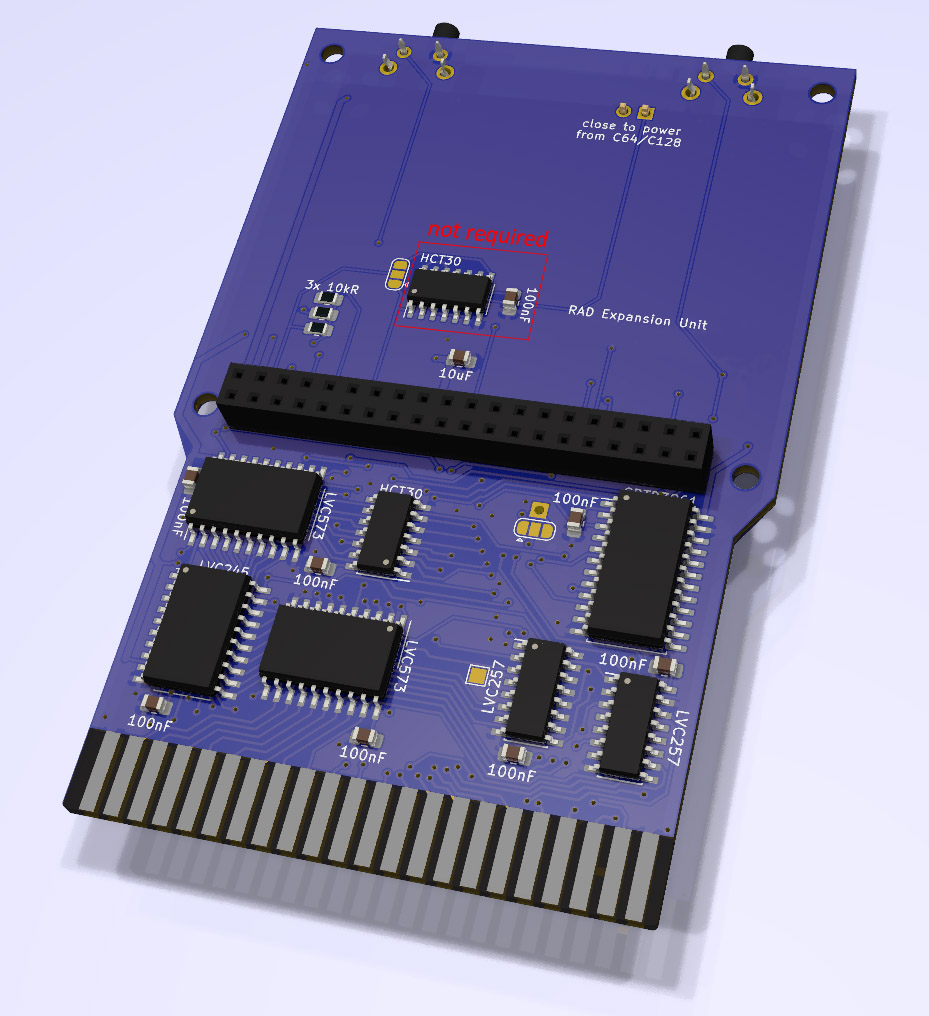
Build hardware (PCBs, BOM, assembly)
BOM / interactive BOM (iBOM)
The upstream project provides a BOM + interactive BOM for RAD v0.1: RAD v0.1 BOM / iBOM
PCB ordering
- RAD for RPi 3A+/3B+ (PCBWay)
- RAD for RPi Zero 2 (PCBWay small)
- Gerbers are also in the GitHub repo if you want to order elsewhere.
Assembly order (simple)
- Solder SMD parts (bottom side only).
- Solder the 2×20 female header (Raspberry Pi socket).
- Solder the edge connector header and push buttons.
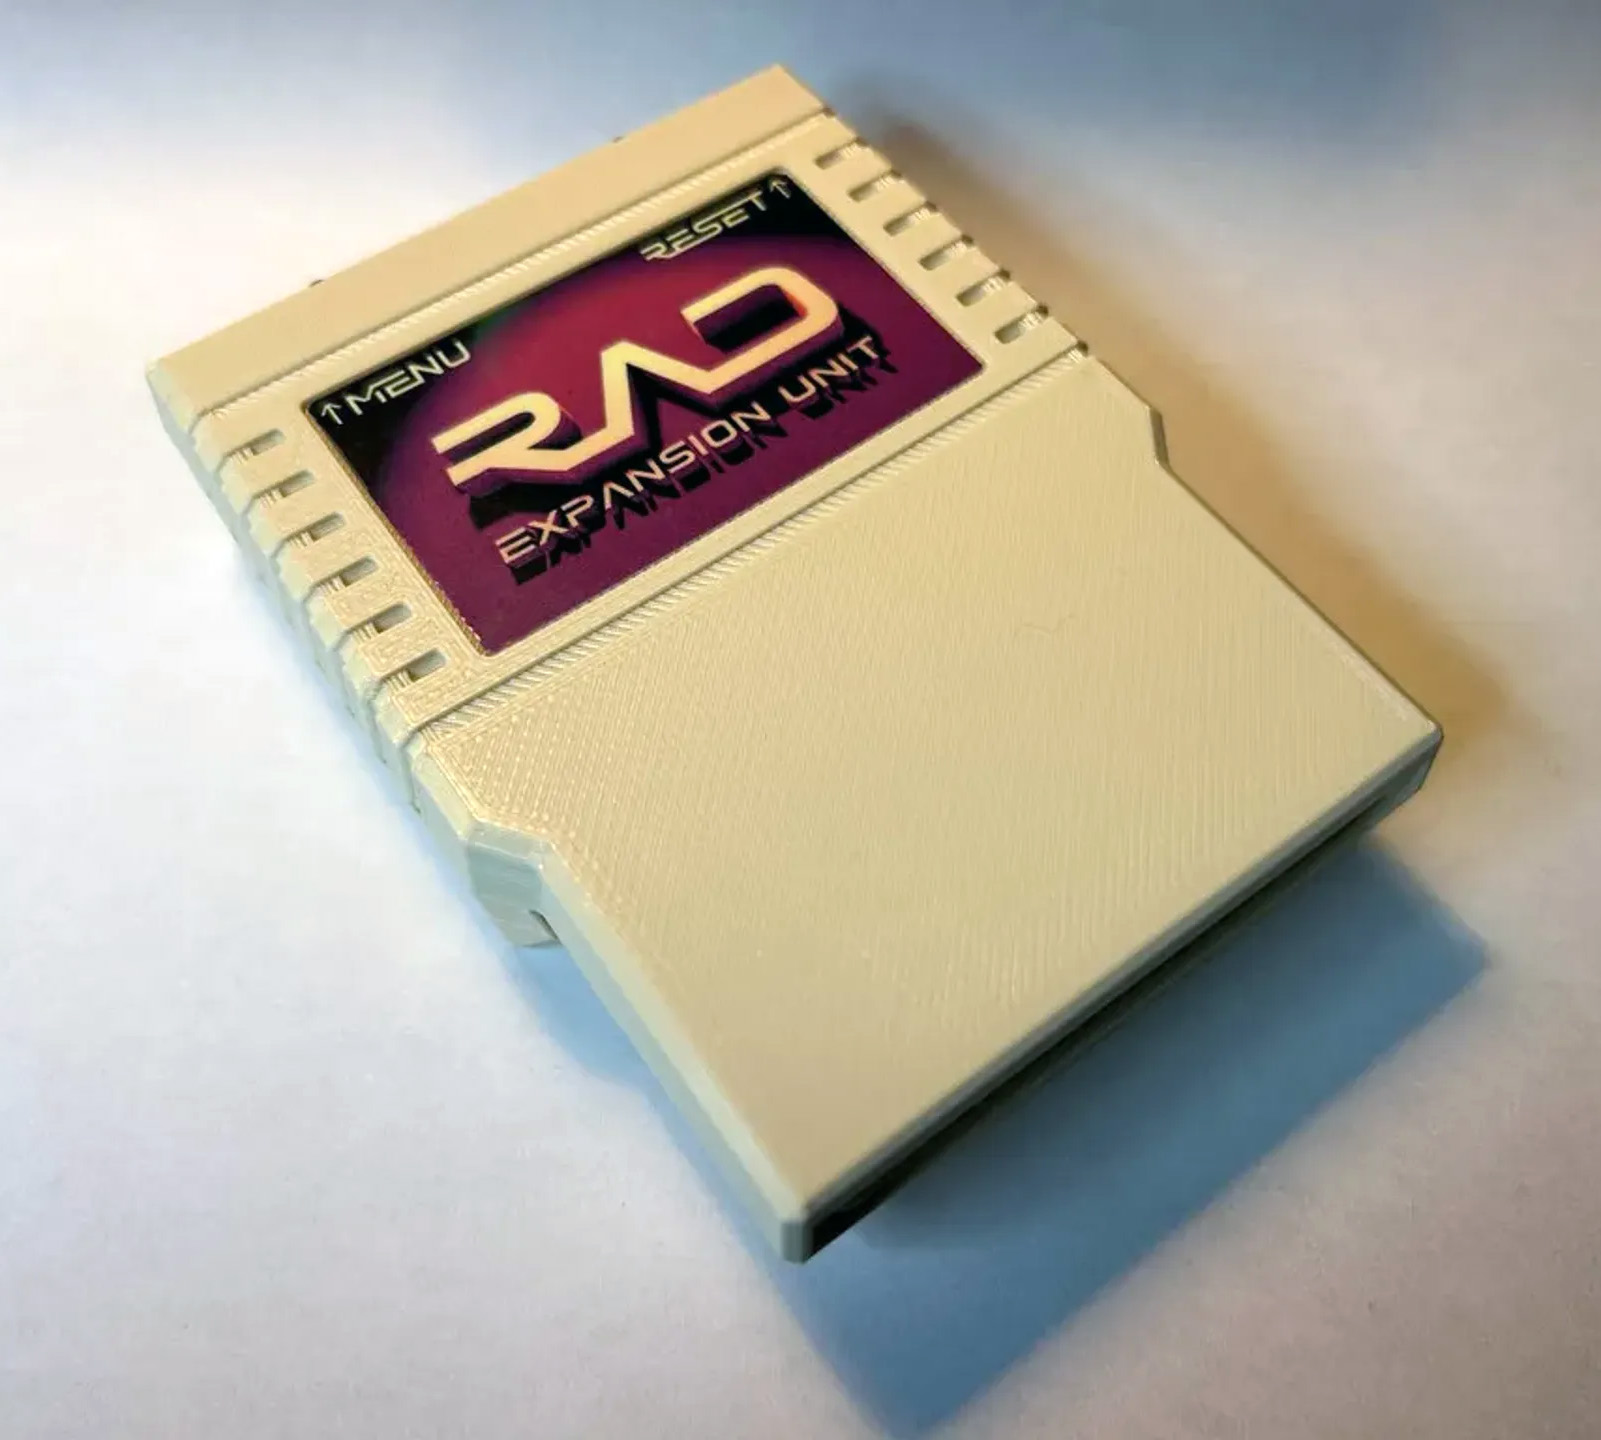
3D printed cases
Upstream references a community case design that fits both the big (3A+/3B+) and small (Zero 2) PCB: Thingiverse • Printables
Powering the RAD (important)
Recommended: external PSU
The upstream docs recommend using a good external power supply for the Raspberry Pi, and (for maximum safety) powering the RAD first, then turning on the C64/C128.
Power from the cartridge port (Pi Zero 2 practical note)
The RAD PCB can be configured to draw power from the C64/C128 expansion port via the “close to power…” jumper. Officially, this can be sensitive to the quality/strength/stability of the computer’s PSU. In practice, with a Pi Zero 2 many builds are generally fine and stay within reasonable draw — but if you see weird instability (NUVIE playback glitches, random crashes), switch back to a known-good external PSU first.
Overclocking + stability
Upstream releases include Raspberry Pi settings that overclock the Pi (moderate on 3A+/3B+, more aggressive on Zero 2).
If you run into instability, try easing those values in SD:config.txt.
Troubleshooting (timings, expanders, odd boards)
Menu glitches / NUVIE issues
Bus timings and cache parameters are stored in SD:RAD/rad.cfg. Most users don’t need to touch them, but cartridge port expanders
(and some machines) can need alternate timing presets.
WAIT_ENABLE_RW_ADDRLATCH and WAIT_ENABLE_DATA_WRITING in small steps (±10).
VICE snapshots (VSF) caveats
VSF snapshots can restore memory + VIC/SID/CIA/CPU state, but not everything is cycle-perfect (timers and CPU/VIC sync aren’t restored with absolute accuracy).
- C64 VSF ≠ always safe on C128 (and vice versa).
- Different KERNAL ROMs can cause crashes when restoring a VSF made on another setup.
Building from source (if you want to tinker)
RAD is built on the Circle environment (upstream references Circle 44.3 and a gcc-arm setup). The C64/C128 side uses 64tass. If you’re doing this, stick closely to the build settings included in the repo.